Alpaca’s latest toolkit will be a game-changer for image creators everywhere. The Photoshop-based plugin allows seamless integration of generative models into the image-building experience. With text-to-image generation, image-to-image variations, outpainting, upscaling, and depth map creation features all accessible within your favorite image editor, possibilities will become endless. This innovative development is set to revolutionize how images are created and inspire creatives everywhere. Alpaca’s new plugin is a must-have for every Photoshop user looking to stay ahead of the curve.
Alpaca plugin features
Alpaca provides powerful design tools that enable new creative approaches suitable for professionals, enthusiasts, and everyone in between.
Some of the features of Alpaca include full creative control and customized models, which are built around familiar tools and can generate unique styles based on your own assets and imagery.
Alpaca also offers an AI toolkit that can help streamline your creative workflow, explore new concepts, and amplify your creativity. With Alpaca, you can unleash your creativity and take your designs to the next level.

Beta plugin installation
The necessary requirement for installing the plugin is to have Photoshop installed on your device and ensure it’s updated to the latest version. Depending on the version of Photoshop you are using, you might need to check and confirm that you have a specific minimum version installed.
- Photoshop 2022: it’s important to have at least v23.4.0 installed
- Photoshop 2021: you should ensure that you have at least v22.5.9 installed.
For Photoshop 2023, any installed version will work.
Now, Download the plugin from here
How to install Alpaca plugin?
There are two ways to install the plugin, With and without Creative Cloud:
1 – With Creative Cloud:
To install the plugin, just double-click on the downloaded file (e.g. alpaca-1.5.1_PS23.ccx). This should automatically open Creative Cloud and prompt you to install the plugin locally.
If double-clicking on the file doesn’t seem to work, try exiting Creative Cloud before attempting to open it again.
After installation, open Photoshop, and you will notice a new tab called “alpaca” with a login screen. You can move this tab anywhere just like any other tab in Photoshop.
2 – Without Creative Cloud:
1- Unzip the file (e.g. alpaca-1.4.1_PS23.zip), a new folder named “alpaca” (with a version number in the title) should now be present.
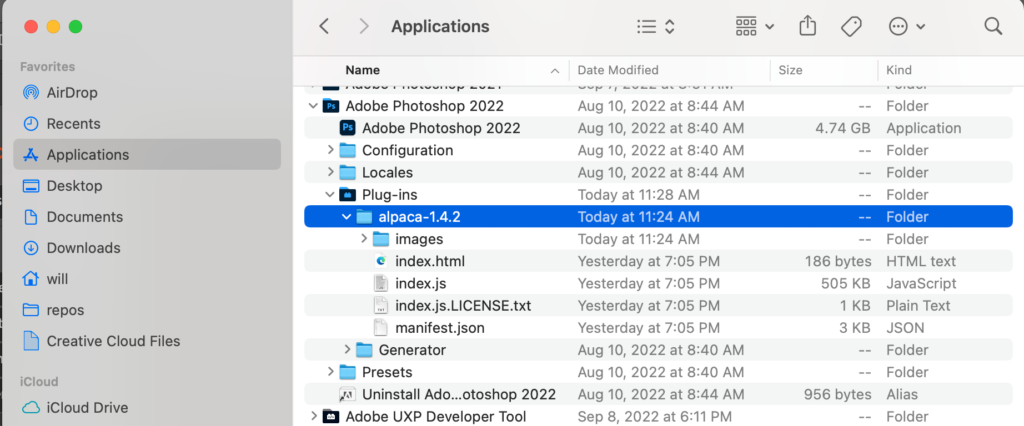
2- Move this folder to your Photoshop plugin directory.
- For MacOS users, the plugin folder can be found under Applications → Adobe Photoshop 2022 → Plug-ins.
- For Windows users, the plugin folder should be located at C:\Program Files\Adobe\Adobe Photoshop 2022\Plug-ins.

To use alpaca in Photoshop, open Photoshop (if it’s already open, restart it). Once it’s open, click on “Plugins” in the menu and look for alpaca. Click on alpaca and then select alpaca again to enable it. After you’ve done that, you should see an alpaca tab in Photoshop. You can move or dock it anywhere you like and start using alpaca.
Generate images with Alpaca
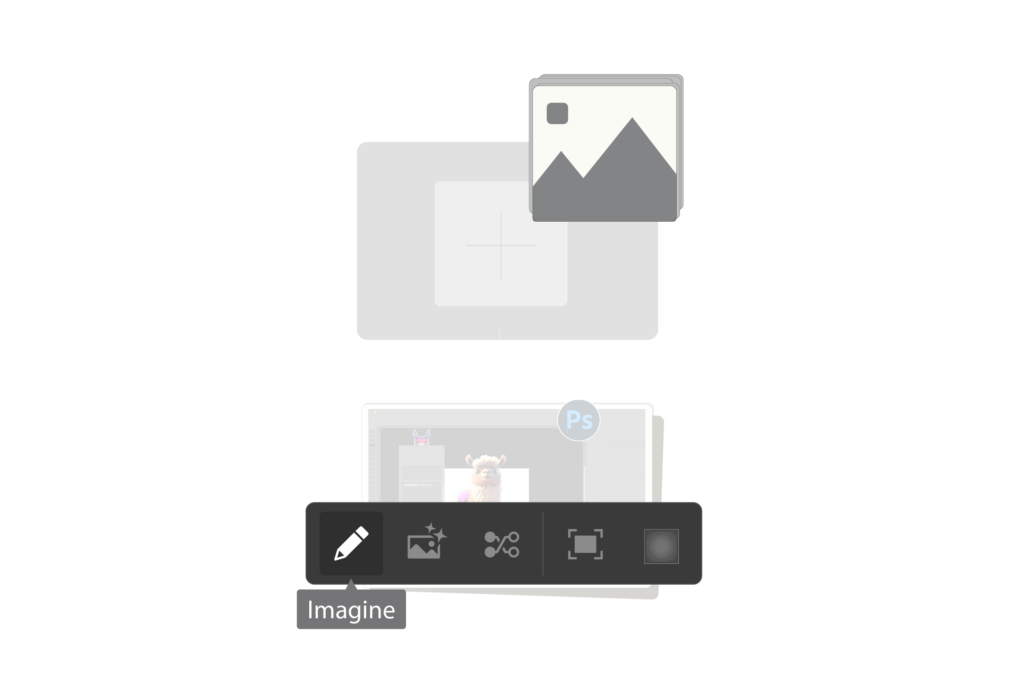
To generate our first image, we can use the Imagine function. Click on the Imagine button, which should bring up a pop-up box. Here, we can choose a template to determine the style of our output images. Let’s select the Manga option from the Template drop-down menu.
Next, we can input a text prompt to Alpaca. For example, we can try the prompt “A sleeping dog”. Keep in mind that you can generate between 1-5 images per text prompt, and it’s usually better to generate more images to compare the style and quality.

The Imagine function will generate a square image by default and place it in the top left corner of your canvas. However, you can also specify the size of the image and its position by making a selection before clicking on Imagine.


0 Comments