MetaGPT
Multi-Agent Meta Programming Framework

MetaGPT is a powerful tool that leverages multiple GPT models to perform complex tasks based on a single-line requirement. It can generate user stories, competitive analysis, requirements, data structures, APIs, and documents for any given project. MetaGPT aims to simplify and automate the software development process by providing high-quality and relevant outputs.

Installation
# Step 1: Ensure that NPM is installed on your system. Then install mermaid-js.
npm --version
sudo npm install -g @mermaid-js/mermaid-cli

# Step 2: Ensure that Python 3.9+ is installed on your system. You can check this by using:
python --version

# Step 3: Clone the repository to your local machine, and install it.
git clone https://github.com/geekan/metagpt
cd metagpt
python setup.py install
Docker Installation 🐋
# Step 1: Download metagpt official image and prepare config.yaml
docker pull metagpt/metagpt:v0.1
mkdir -p /opt/metagpt/config && docker run --rm metagpt/metagpt:v0.1 cat /app/metagpt/config/config.yaml > /opt/metagpt/config/config.yaml
vim /opt/metagpt/config/config.yaml # Change the config

# Step 2: Run metagpt image
docker run --name metagpt -d \
    -v /opt/metagpt/config:/app/metagpt/config \
    -v /opt/metagpt/workspace:/app/metagpt/workspace \
    metagpt/metagpt:v0.1

# Step 3: Access the metagpt container
docker exec -it metagpt /bin/bash

# Step 4: Play in the container
cd /app/metagpt
python startup.py "Write a cli snake game"
The command docker run ... will do the following :
- Start the Metagpt container with the default command
tail -f /dev/null - Map host directory
/opt/metagtp/configto the container directory/app/metagpt/config - Map host directory
/opt/metagpt/workspaceto the container directory/app/metagpt/workspace
Build an image by yourself
# You can also build metagpt image by yourself.
cd metagpt && docker build --network host -t metagpt:v0.1 .
Configuration
- Configure your
OPENAI_API_KEYin any ofconfig/key.yaml / config/config.yaml / env - Priority order:
config/key.yaml > config/config.yaml > env
# Copy the configuration file and make the necessary modifications.
cp config/config.yaml config/key.yaml
| Variable Name | config/key.yaml | env |
|---|---|---|
| OPENAI_API_KEY # Replace with your own key | OPENAI_API_KEY: "sk-..." | export OPENAI_API_KEY="sk-..." |
| OPENAI_API_BASE # Optional | OPENAI_API_BASE: "https://<YOUR_SITE>/v1" | export OPENAI_API_BASE="https://<YOUR_SITE>/v1" |
Tutorial: Initiating a startup
python startup.py "Write a cli snake game"
The script creates a new project in the workspace/ directory.
Code walkthrough
    from metagpt.software_company import SoftwareCompany
from metagpt.roles import ProjectManager, ProductManager, Architect, Engineer

async def startup(idea: str, investment: float = 3.0, n_round: int = 5):
    """Run a startup. Be a boss."""
    company = SoftwareCompany()
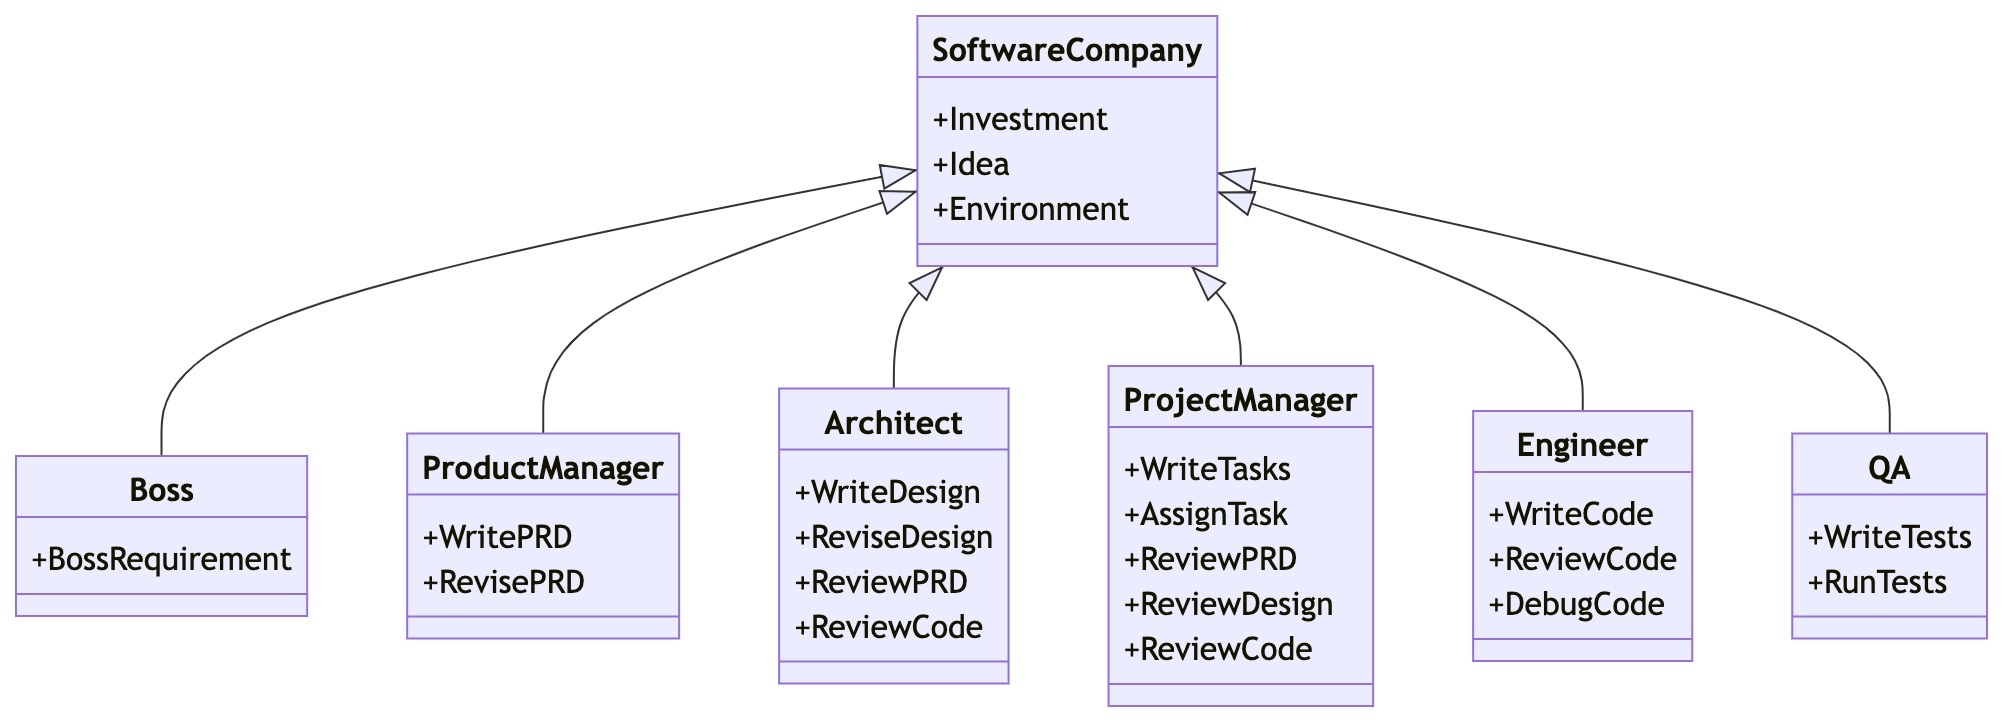
    company.hire([ProductManager(), Architect(), ProjectManager(), Engineer()])
    company.invest(investment)
    company.start_project(idea)
    await company.run(n_round=n_round)


0 Comments