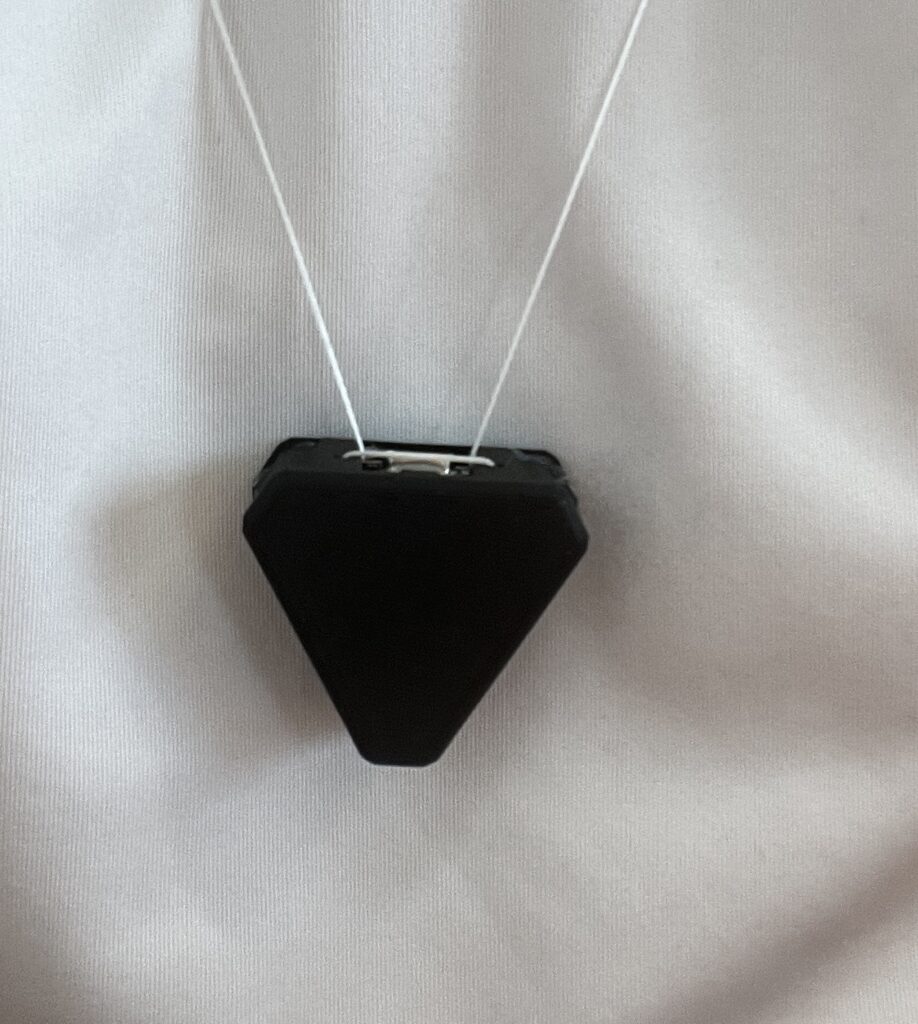
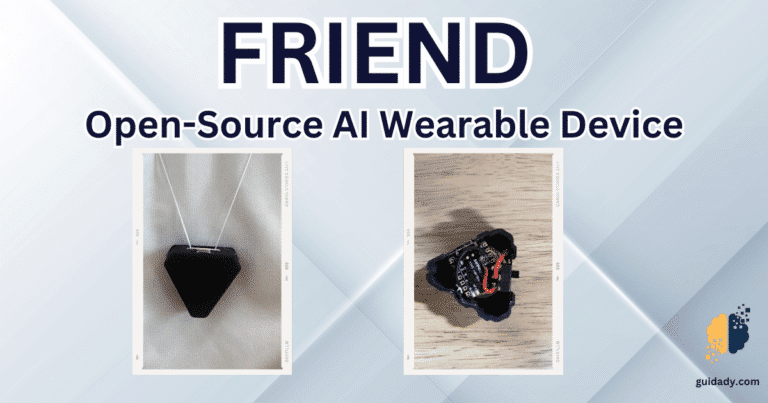
In the world of wearable technology, a groundbreaking innovation has emerged: Friend, an AI-powered wearable device that is open-source and promises to revolutionize the way we interact with technology. With its advanced features and sleek design, Friend is not just a gadget, but a companion that records your conversations and offers proactive feedback and advice.
Features That Set Friend Apart
- Real-Time AI Audio Processing: Friend boasts on-device AI capabilities that allow for immediate audio analysis, ensuring that your interactions are seamless and intuitive.
- Extended Battery Life: Equipped with low-powered Bluetooth technology, Friend can capture audio for over 24 hours on a single small button battery, making it a reliable partner throughout your day.
- Open-Source Software: True to the spirit of collaboration, Friend’s software stack is open-source, inviting developers and tech enthusiasts to contribute and enhance its capabilities.
- Ergonomic Wearable Design: Designed with the user in mind, Friend’s ergonomic and lightweight structure makes it the perfect accessory for everyday wear.
Structure and Accessibility
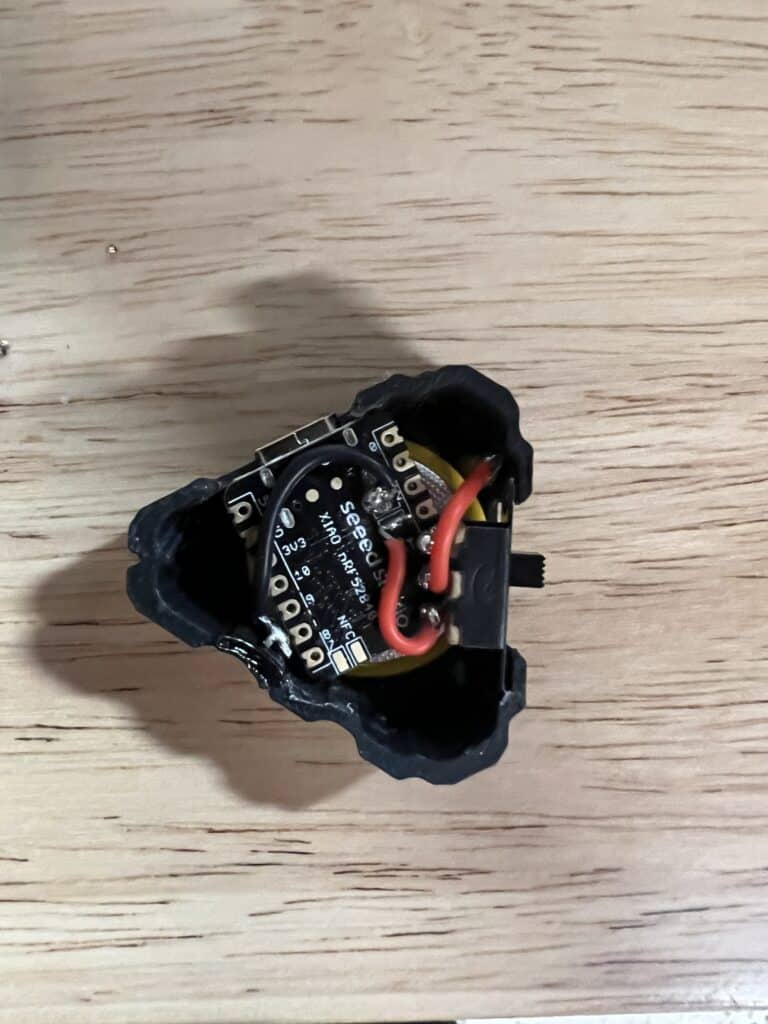
Friend’s structure is ingeniously simple yet versatile. It consists of two different applications housed in separate branches and folders, with the ultimate goal of merging them into one comprehensive project. Whether you opt for the standalone app or the wearable-connected version, Friend ensures a tailored experience to suit your needs.
Getting started
Install the App:
- Clone the repo
git clone https://github.com/BasedHardware/friend.git - Choose which version of the app you want to install (see Structure).
- Don’t have the device? run
cd AppStandalonein terminal - Have the device/NRF Board? run
cd AppWithWearablein terminal
- Install Flutter and CocoaPods
- iOS: Install XCode then navigate to the iOS folder Android: Download/install android Studio then navigate to the Android folder
- then run
flutter cleanthenflutter pub getthenpod install - When everything is installed, run
flutter run, this should run your app on a selected device - Install your environment variables in .env.template file
No-Code Alternative:
- Don’t have the device? Clone this Flutterflow Project
- Have the wearable device? Copy this Flutterflow Project
Set Up the Development Environment:
Install Flutter and CocoaPods, navigate to the respective folder for your chosen version, and run the necessary commands to get your app up and running.
Install Firmware:
- Download Arduino
- Run
cd src/BluetoothDeviceDriverin your home repository and Open Arduino .ini file, go to “Settings” and paste these 2 links in additional Boards Manager URLs
https://adafruit.github.io/arduino-board-index/package_adafruit_index.json
https://files.seeedstudio.com/arduino/package_seeeduino_boards_index.json
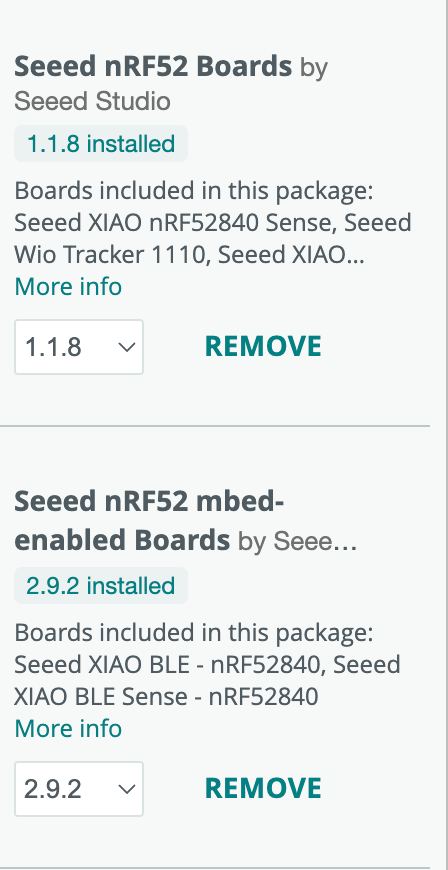
3. Go to Boards Manager and download these 2 Boards
- Connect NRF52840 board via USB cable to your computer
- Go to Tools > Board >

- and select “Seeed nRF52 mbed-enabled Boards (you need a board that has Sense)
Also select Port (should be smth that containts USB…)

- Go to Sketch => Include Library => Add .zip library and upload a library which you should download from here
- Click “Upload” and then open Serial Monitor to see logs
Join the Community
Friend is more than just a device, it’s a community. Join the Discord server to contribute to the development of both apps, enhancing the standalone app’s rich structure and the wearable app’s seamless connectivity.
Conclusion
Friend represents a significant leap forward in wearable technology, offering an open-source, AI-powered device that’s not only functional but also fosters a sense of community. If you’re interested in exploring Friend further, visit the GitHub repository for more information and to start your journey with this remarkable AI.
Interested in exploring Friend further? Visit the GitHub repository for more information and to start your journey with this remarkable AI wearable.



0 Comments